The following screen shots cover the upgrade of Windows 8 Pro to Windows 8.1 Pro. The upgrade took place on a Dell laptop which was upgraded to Windows 8 Pro from Windows Vista. This is the 32bit version. The computer has 2 gigabytes of RAM & a 14" monitor.
Before attempting an upgrade it is important to backup all of your documents, photos, etc. onto an external hard drive or flash drives. The upgrade took 3 hours to complete from Start to Finish, so allow plenty of time for the upgrade. If you have slow Internet access the process might take longer.
To get the upgrade open the Windows Store on your Windows 8 computer & you will see a photo like the one above. The computer must be connected to the Internet during this entire process. Click on the upgrade button to start.
Then the window below will appear (note many of these pictures where taken with a phone camera so some are out of focus):
Downloading
Getting Ready
Checking compatibility
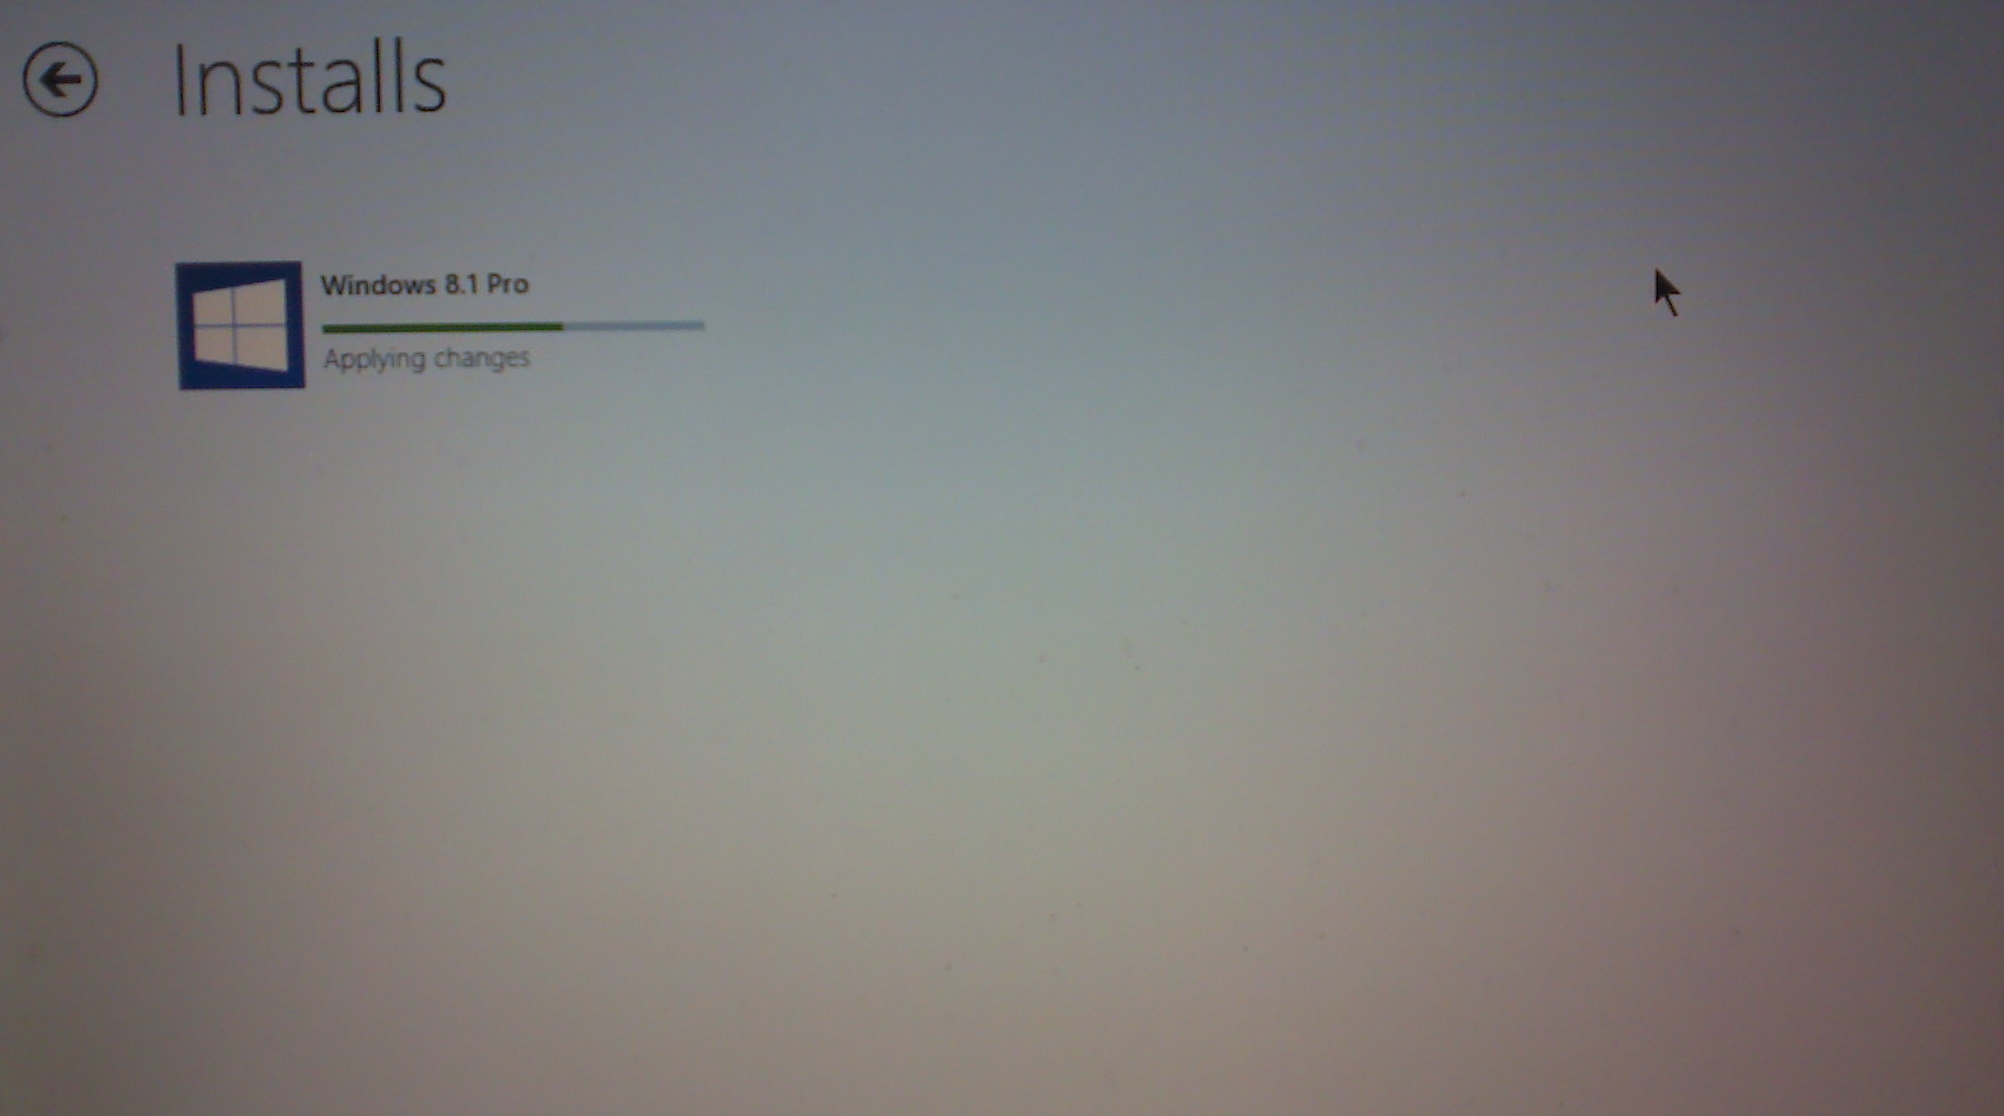
Applying Changes
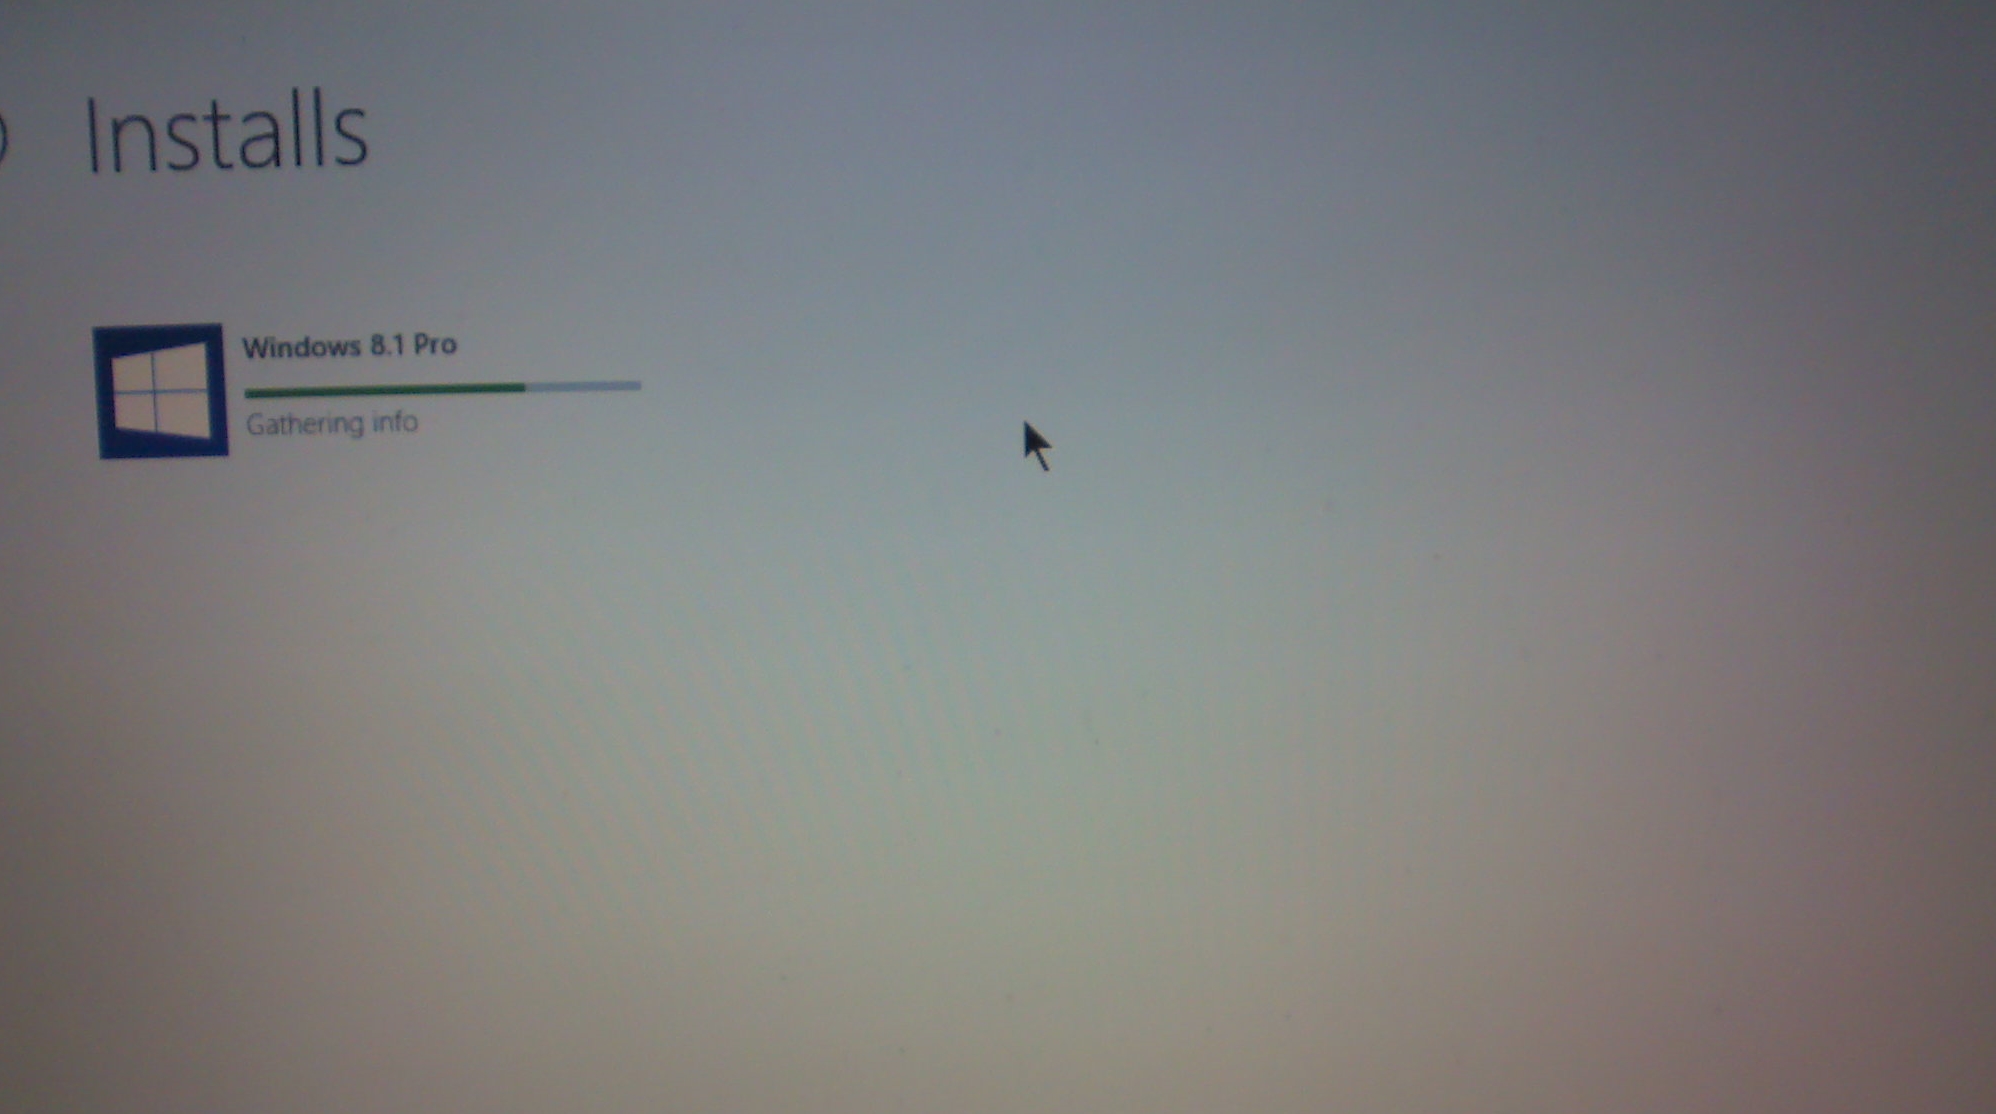
Gathering info
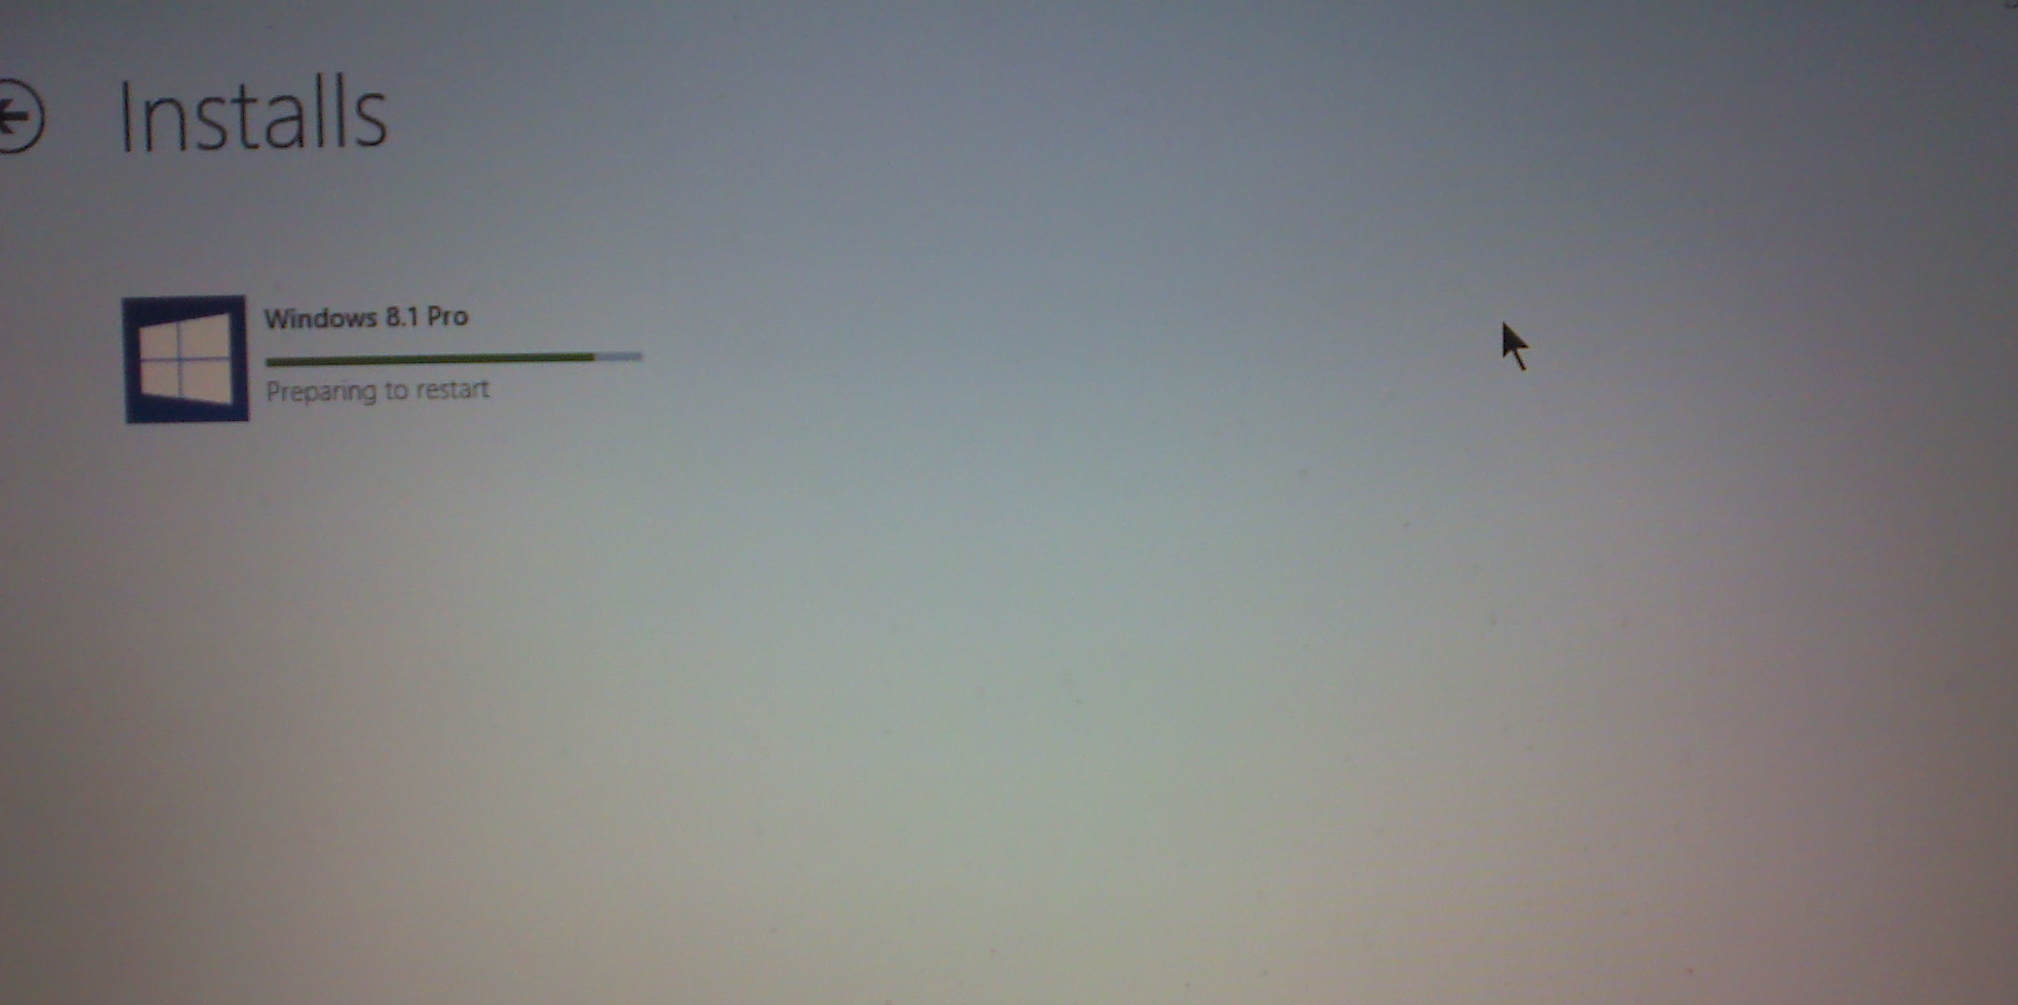
Preparing to restart
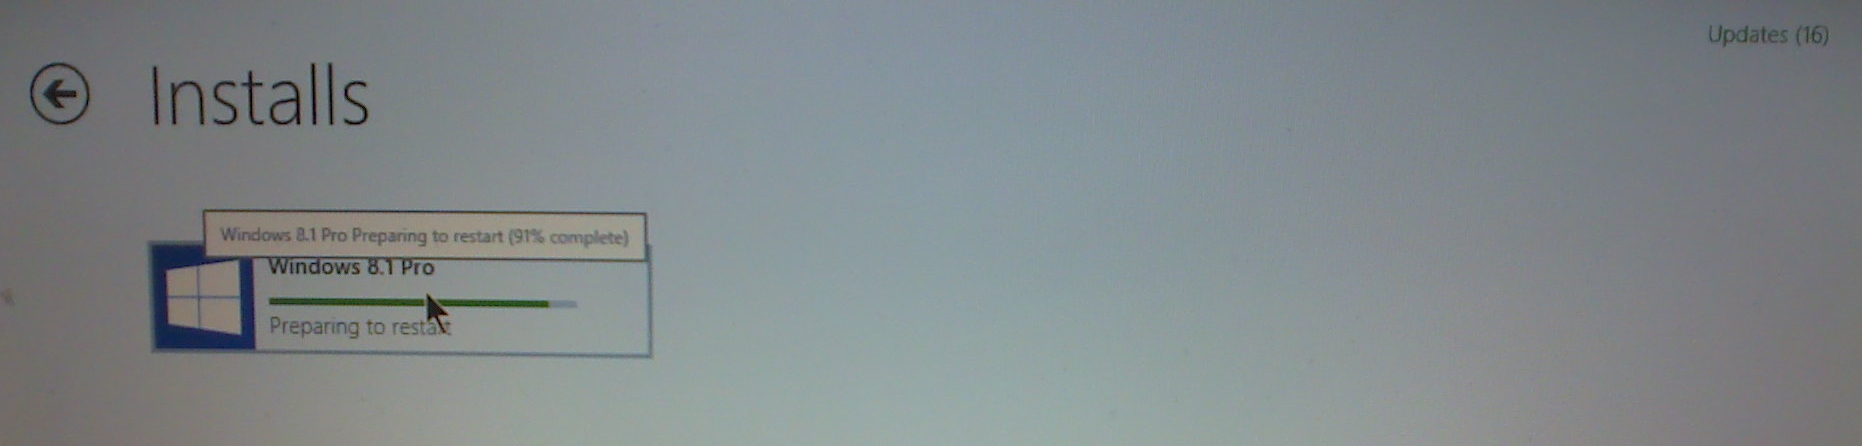
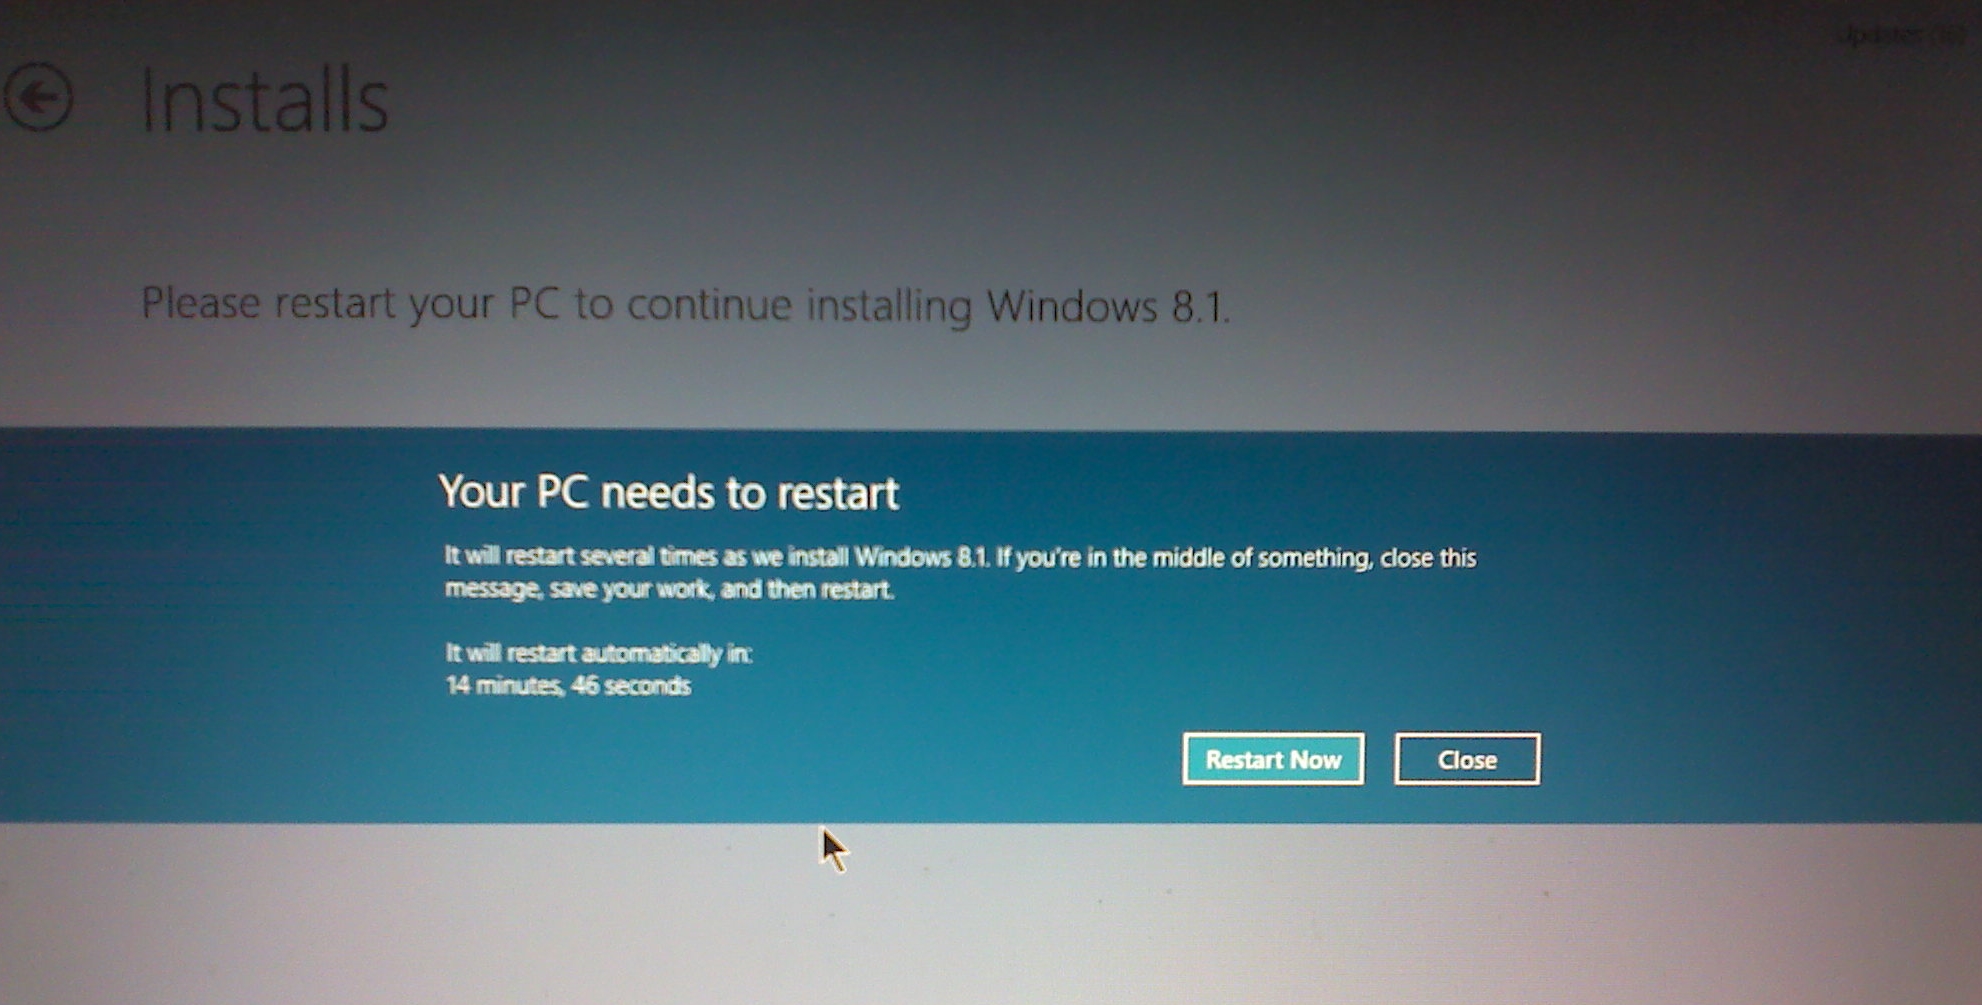
Click on Restart. On restart the screens below appeared.
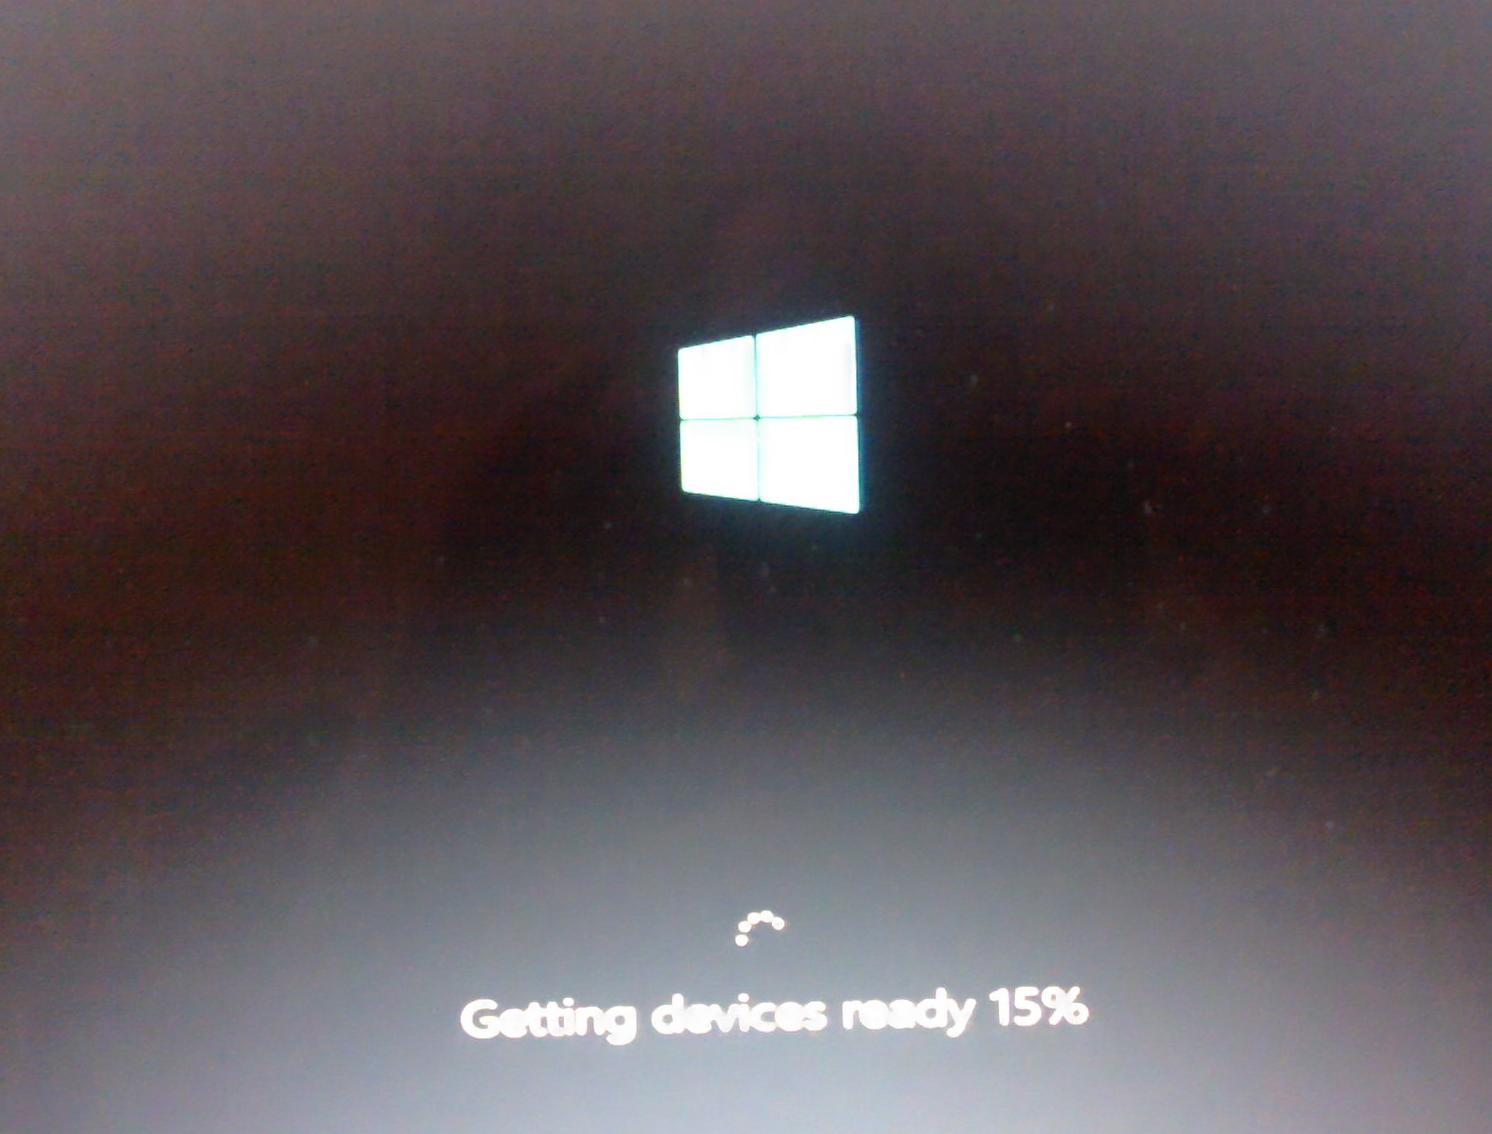
Getting Devices Ready
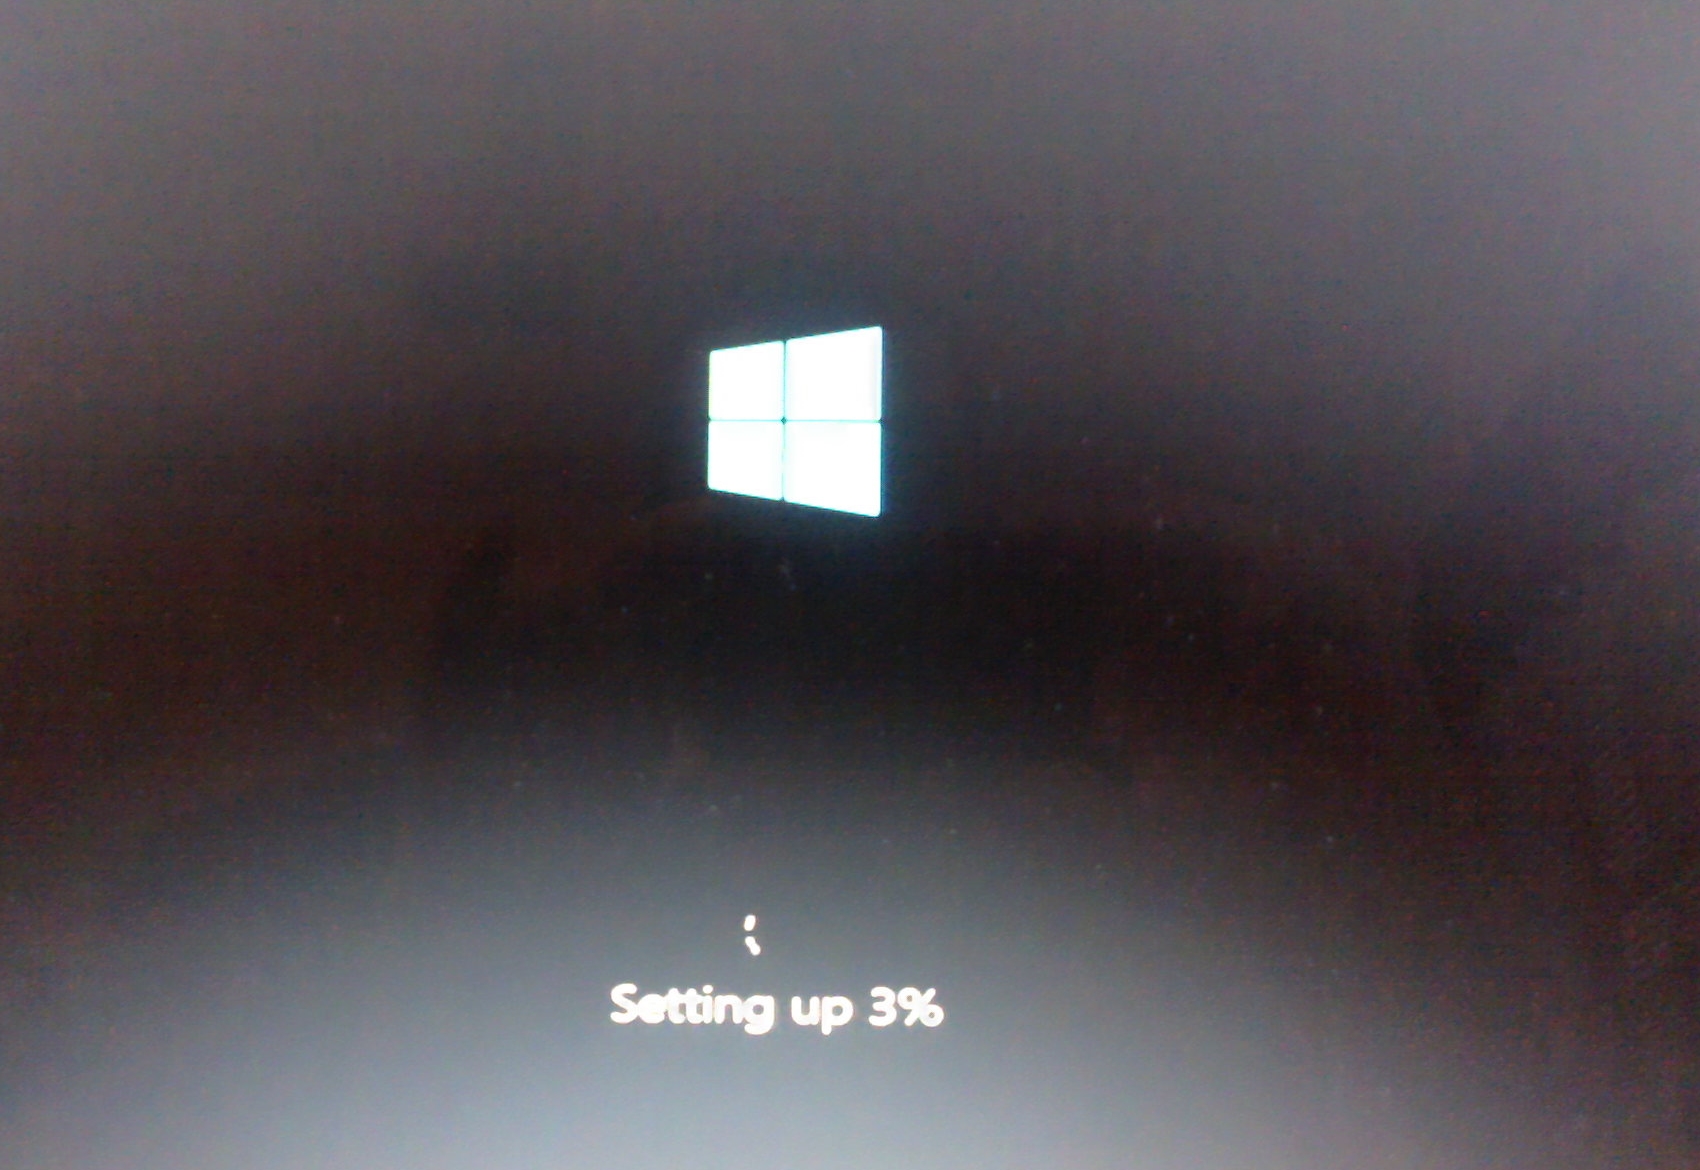
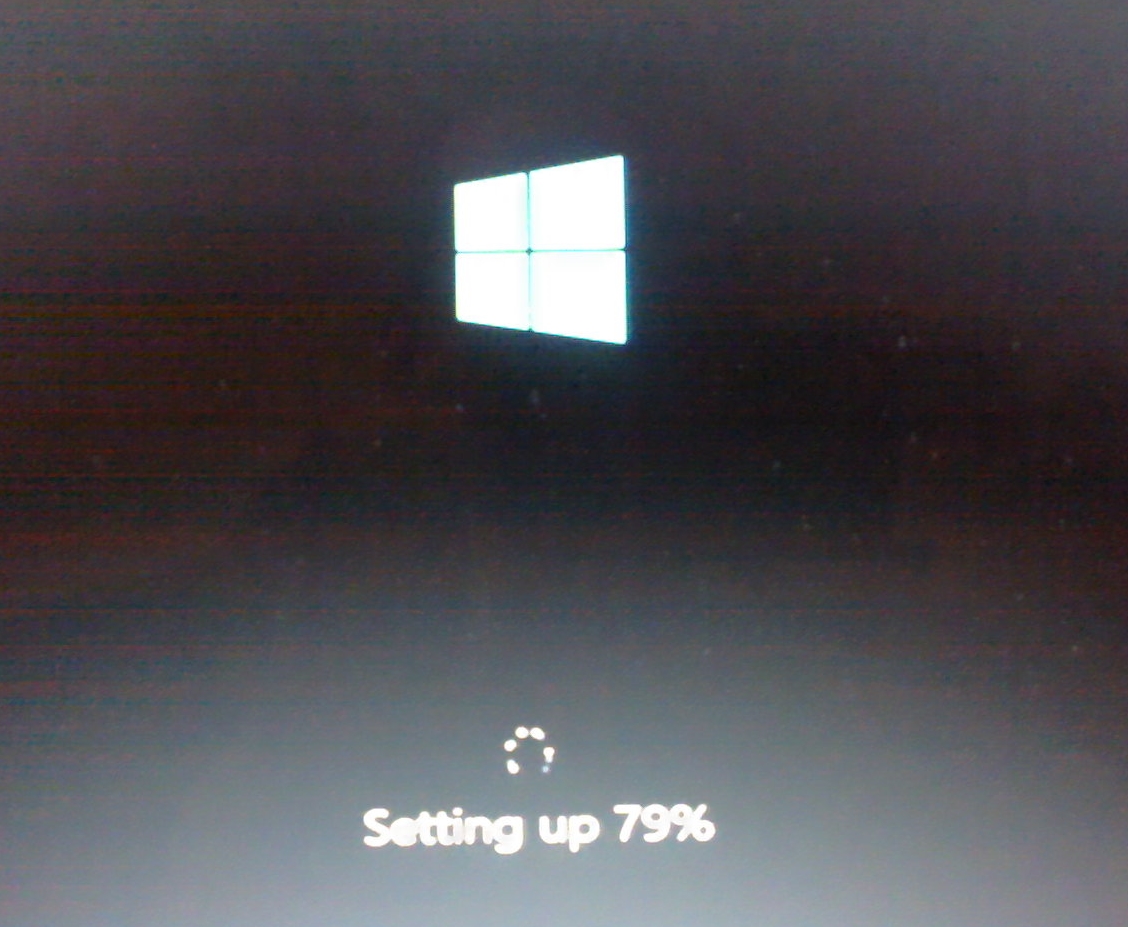
Applying PC settings


At this stage Windows 8.1 is installed. Now comes the process of setting it up by asking some really tough questions. Watch how you answer them. The proper way to setup your computer is with Local accounts (files are stored on your computer). There are at least 3 steps that they try to force you into a Microsoft account (cloud account where all your files are stored on a computer server somewhere in the World.
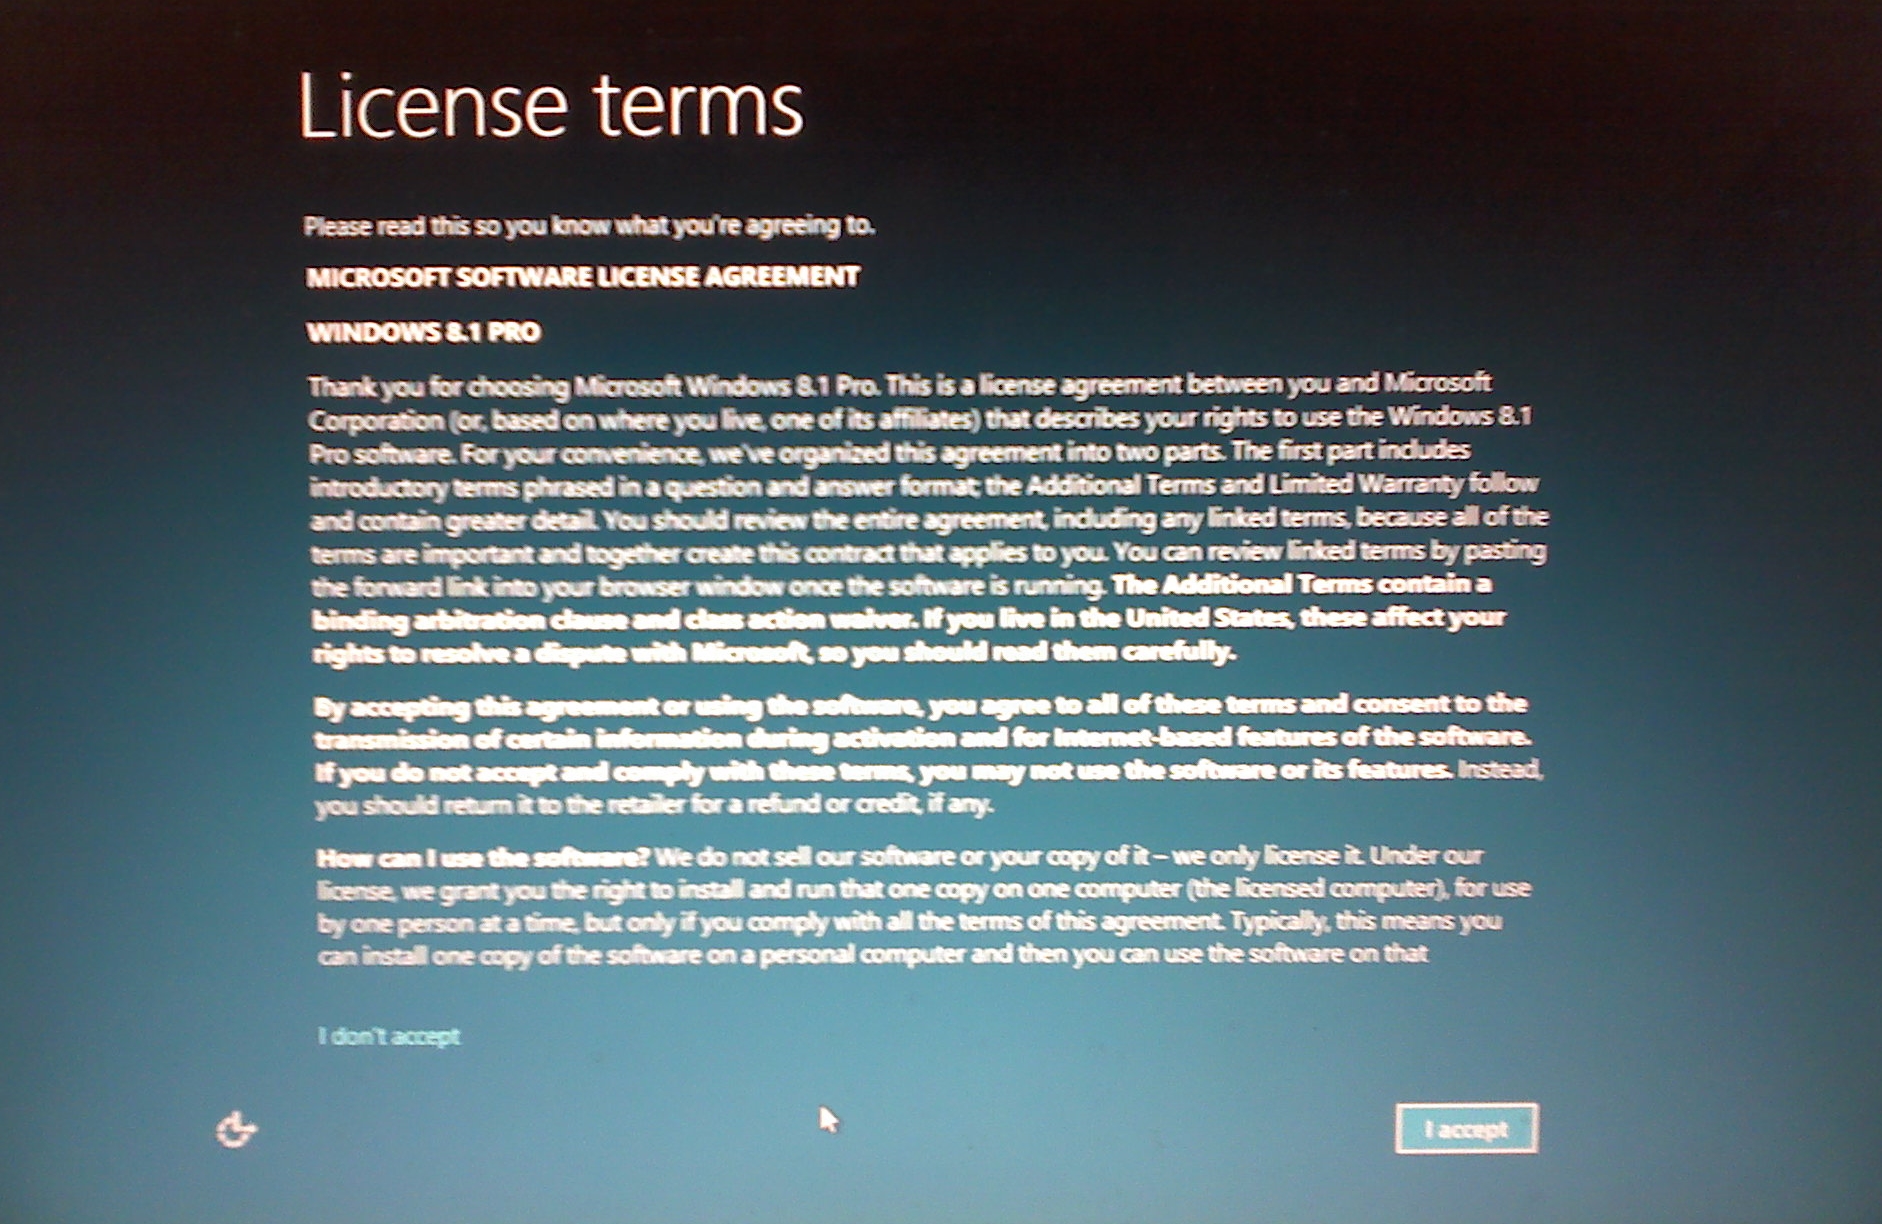
Click Accept for the above screen.

Click on Customize & you choose what happens on your computer.
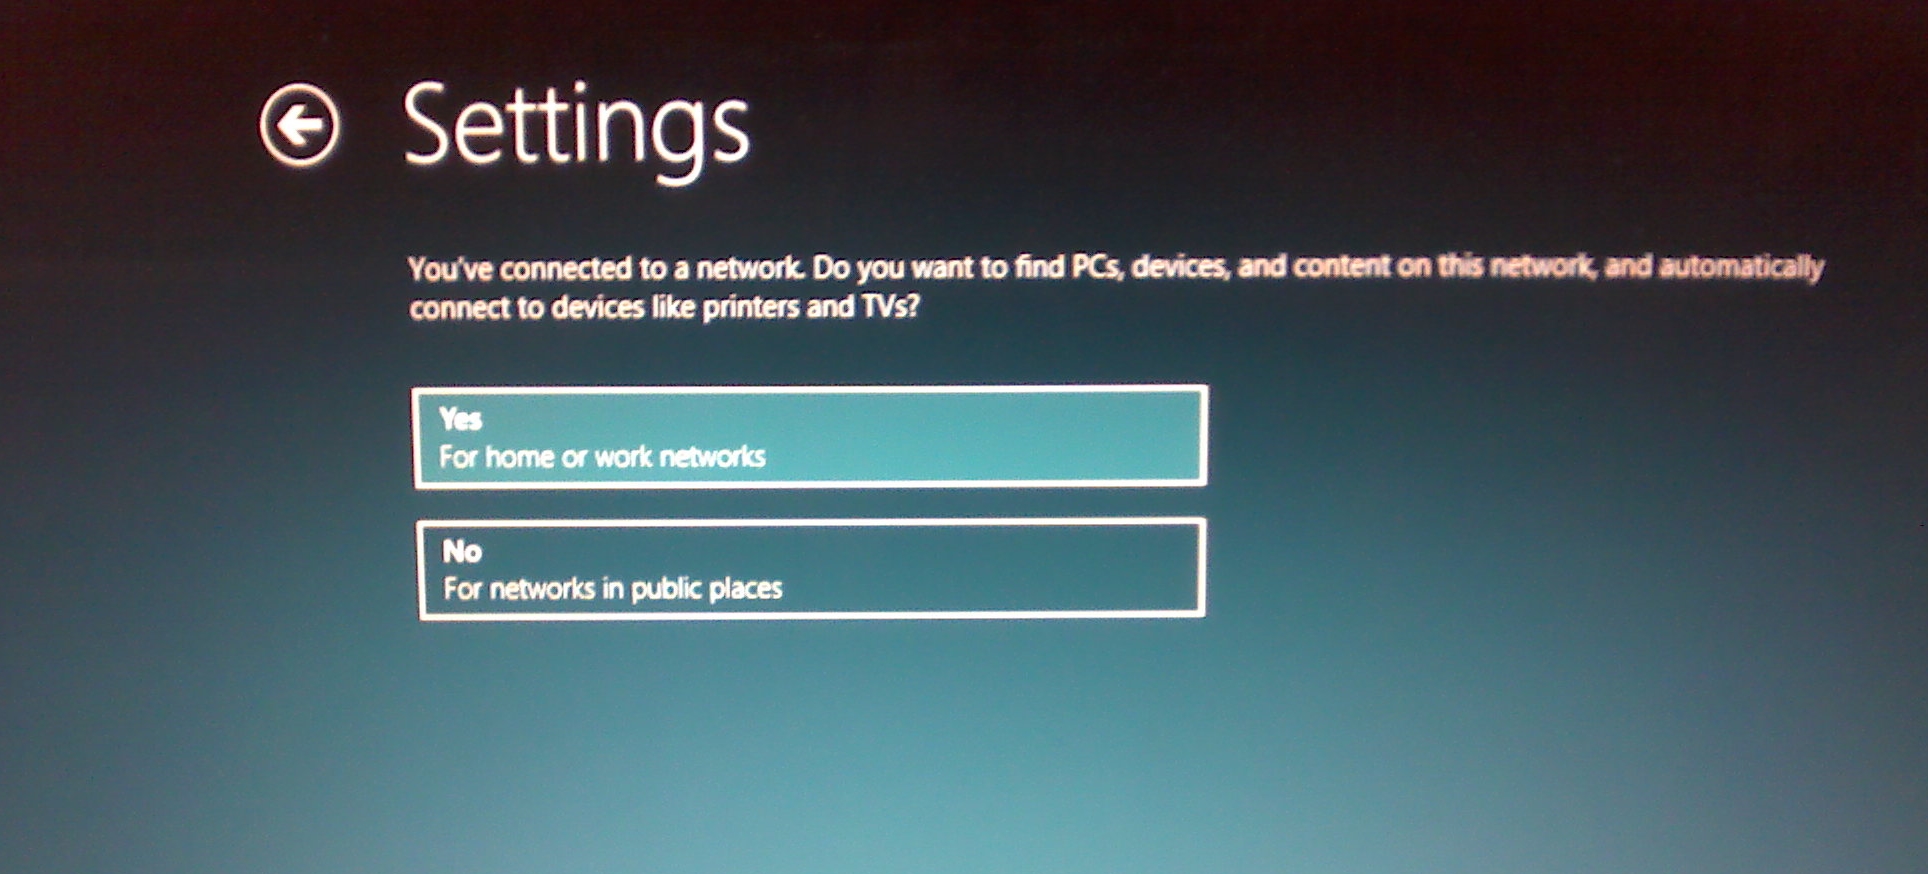
Click Yes to the screen shot above.

Leave everything as is on the screen above.
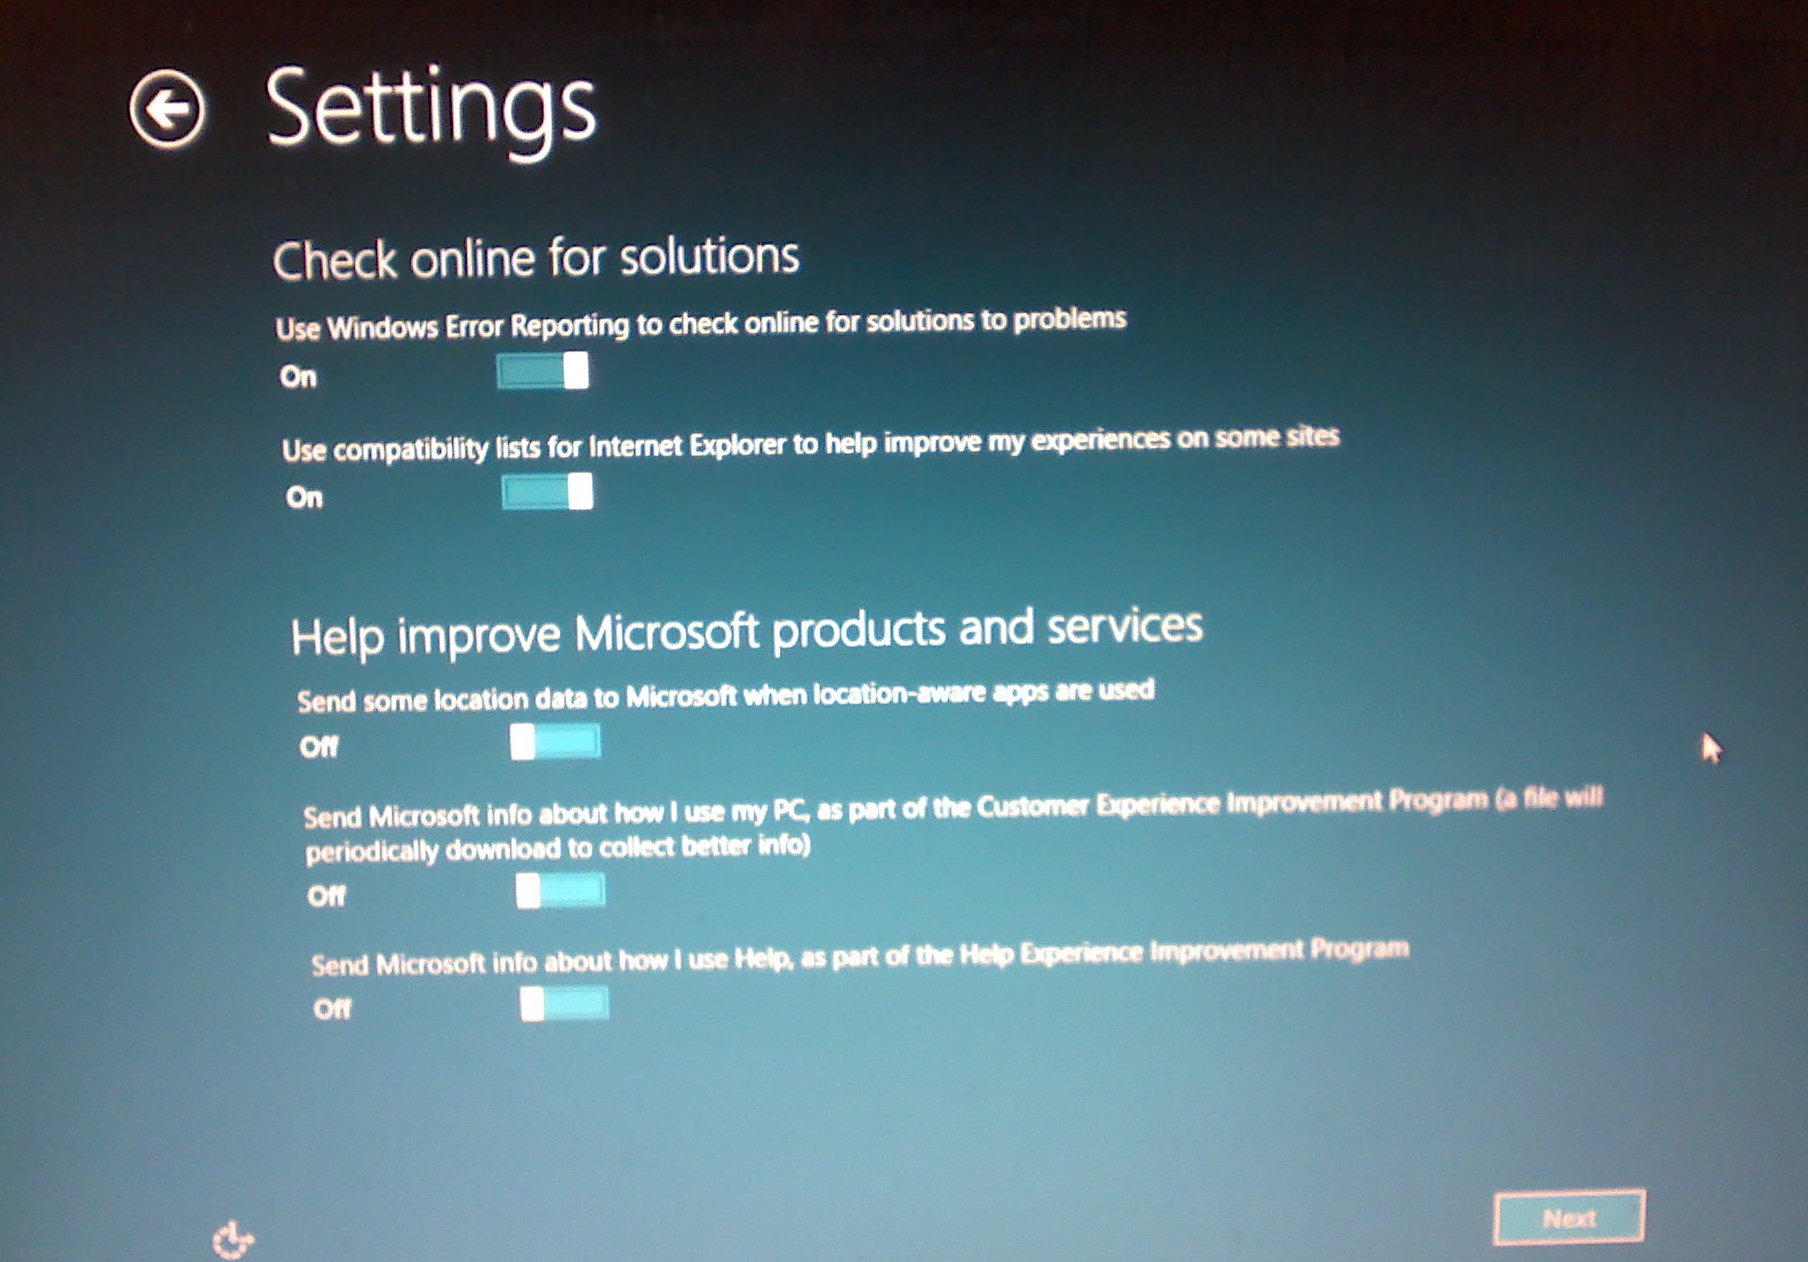
Leave the settings as is in the above picture.
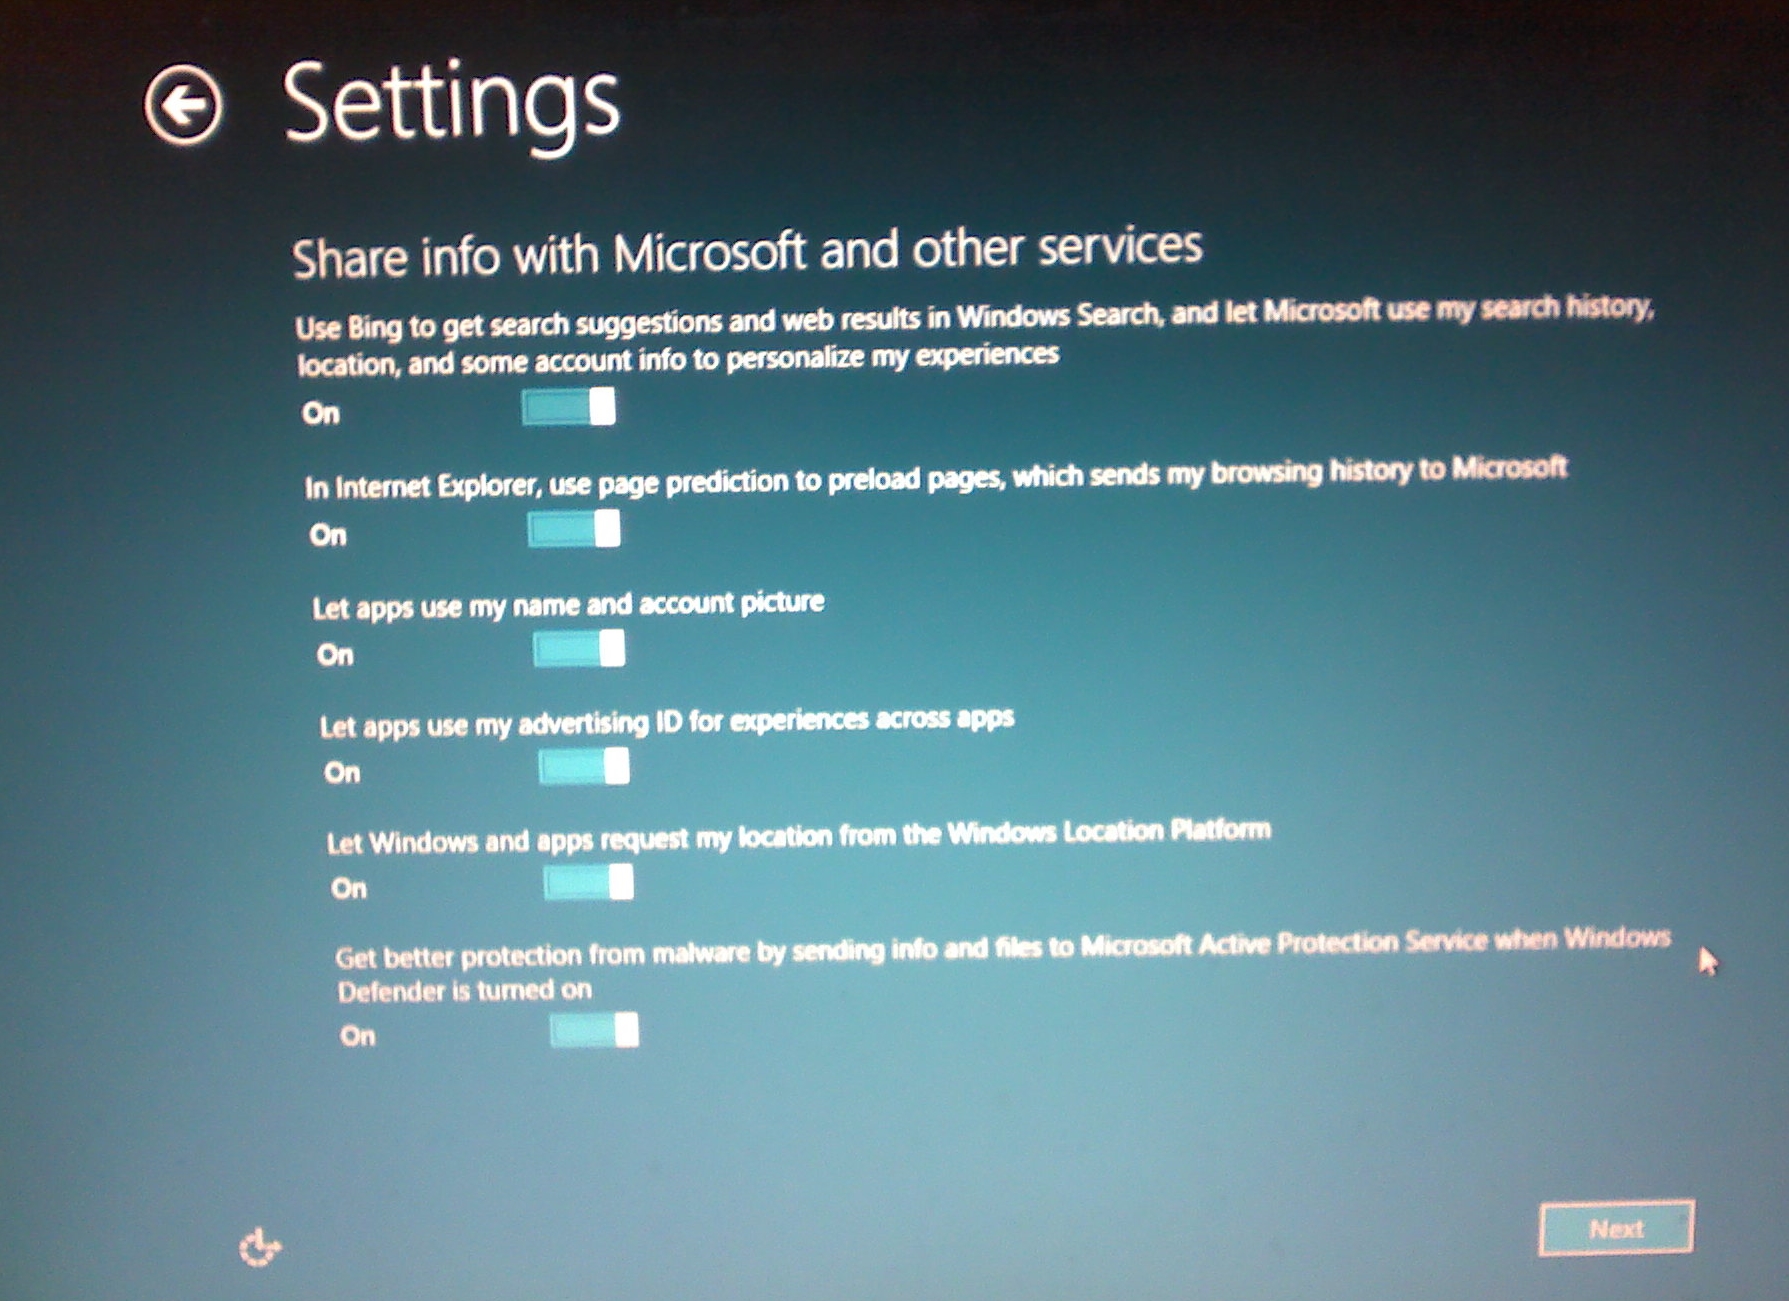
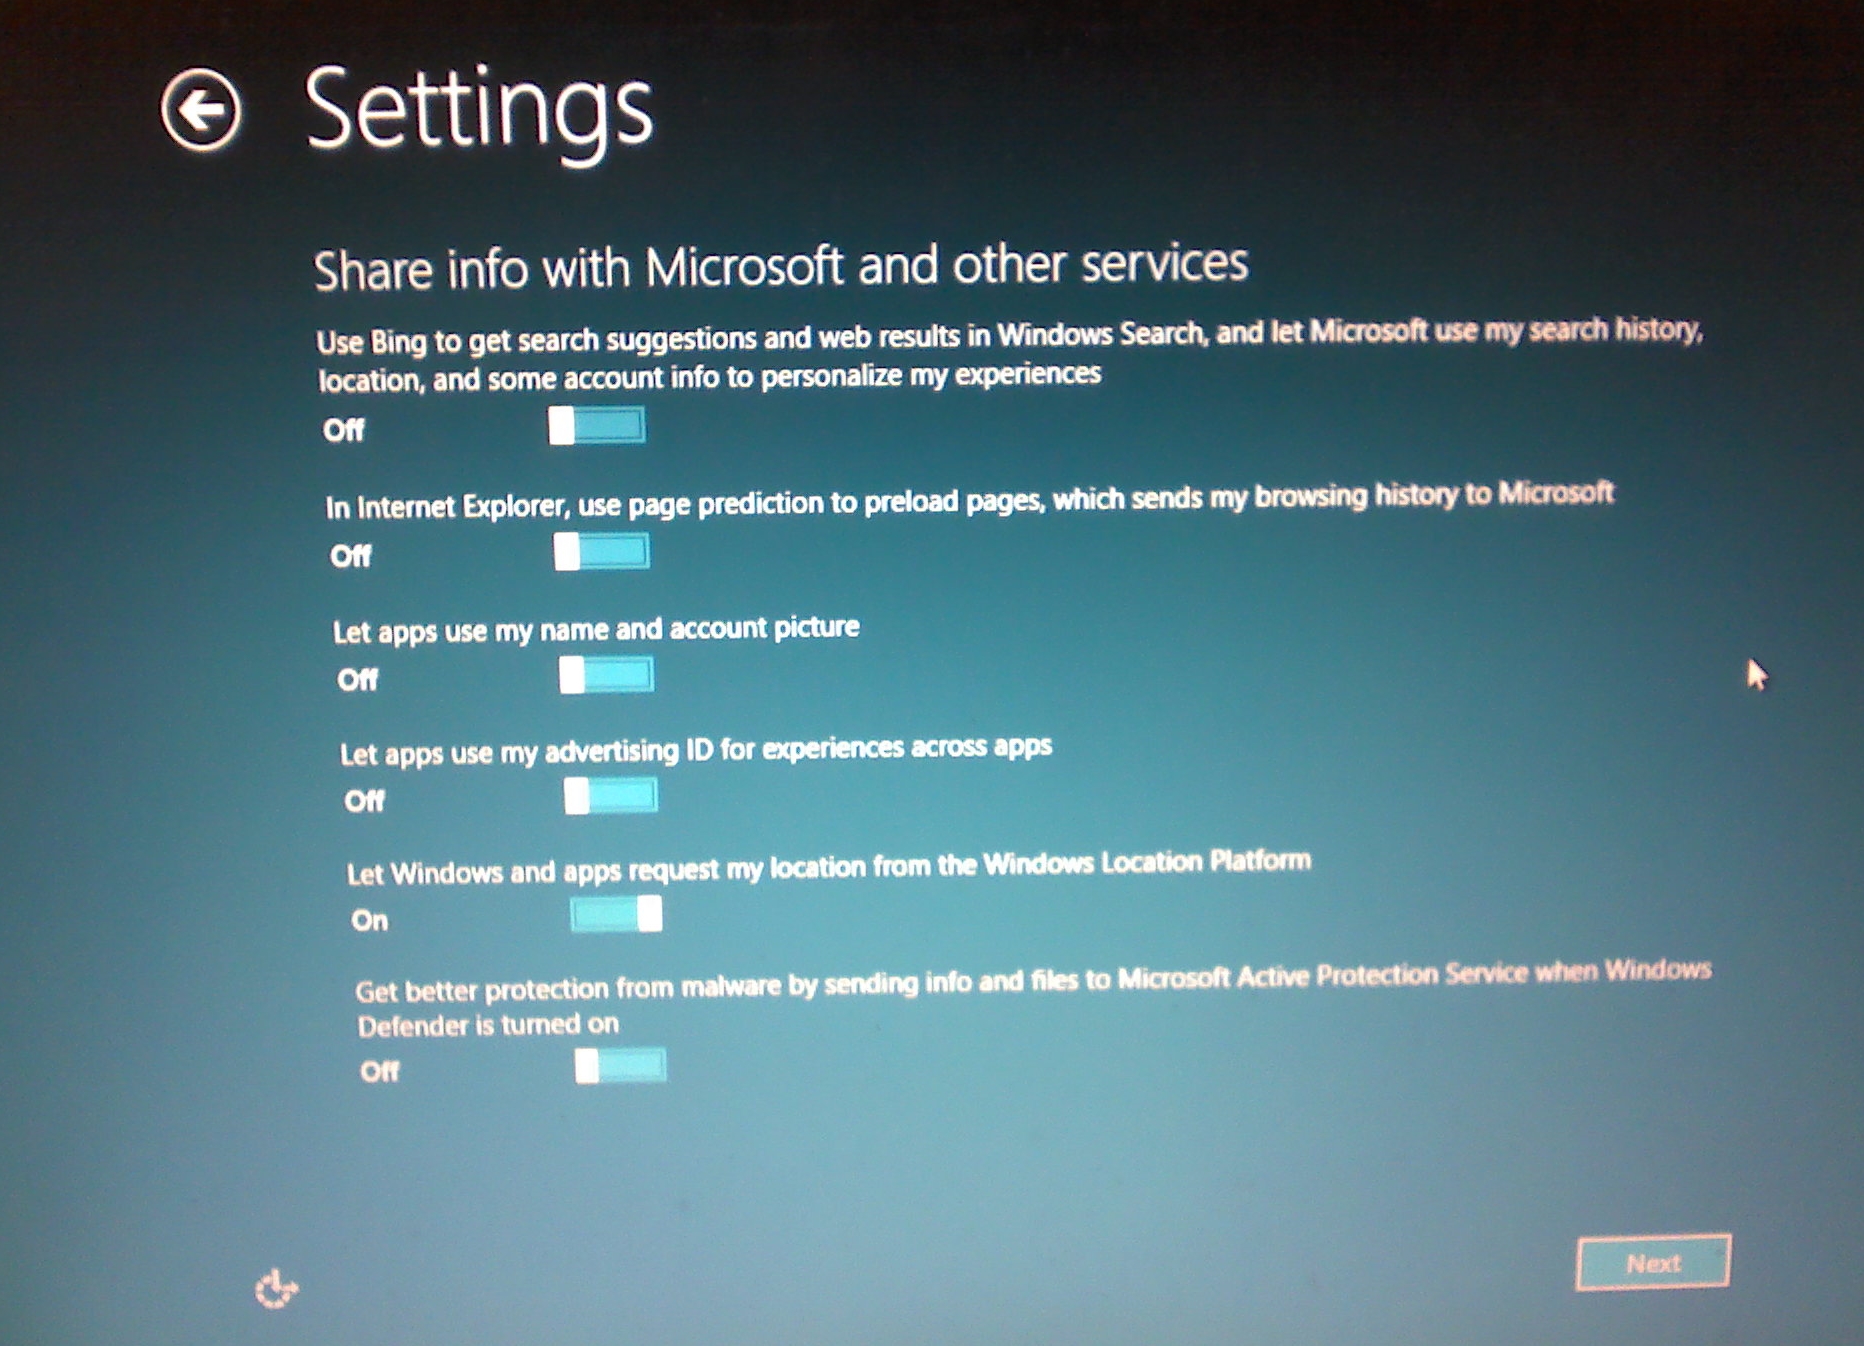
Now at this stage you need to make changes. Turn off what you do not want to share with Microsoft. See below for the correct setup.
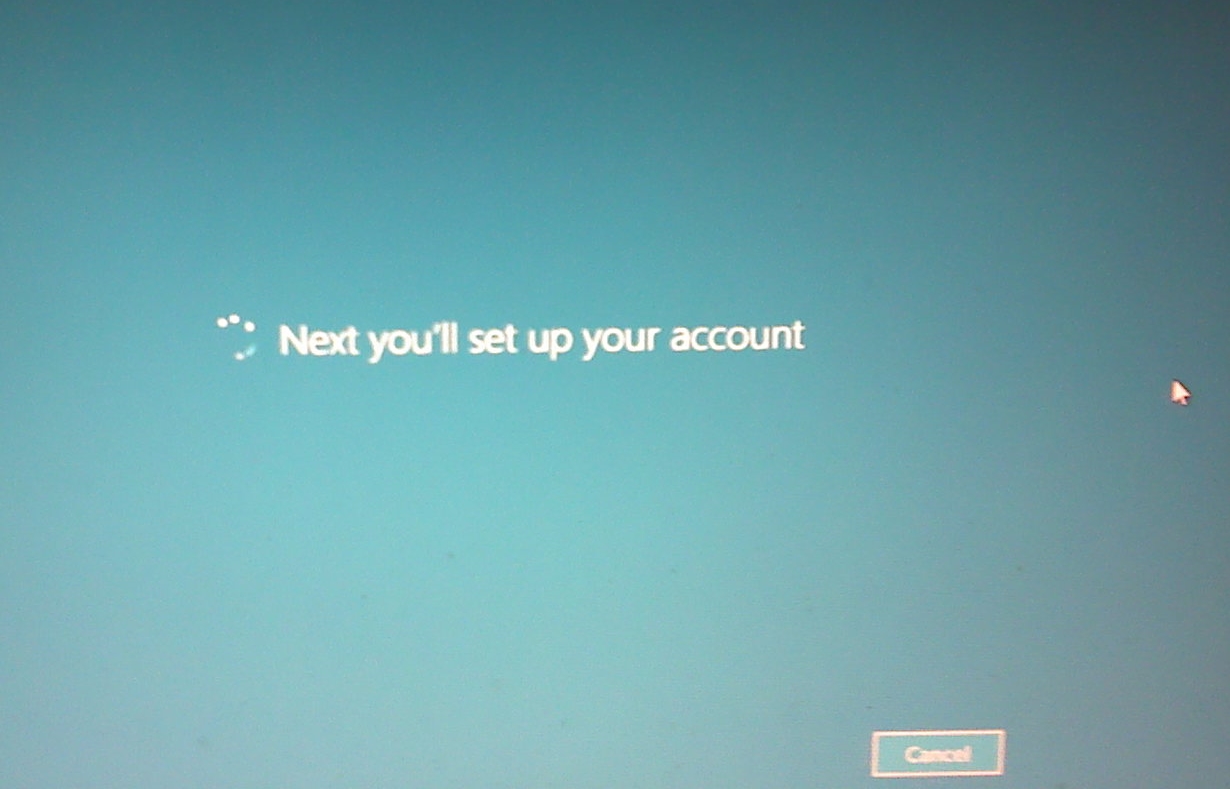
At this stage they are going to try to force you into a Microsoft Account. Go slow at this step & read the questions carefully.
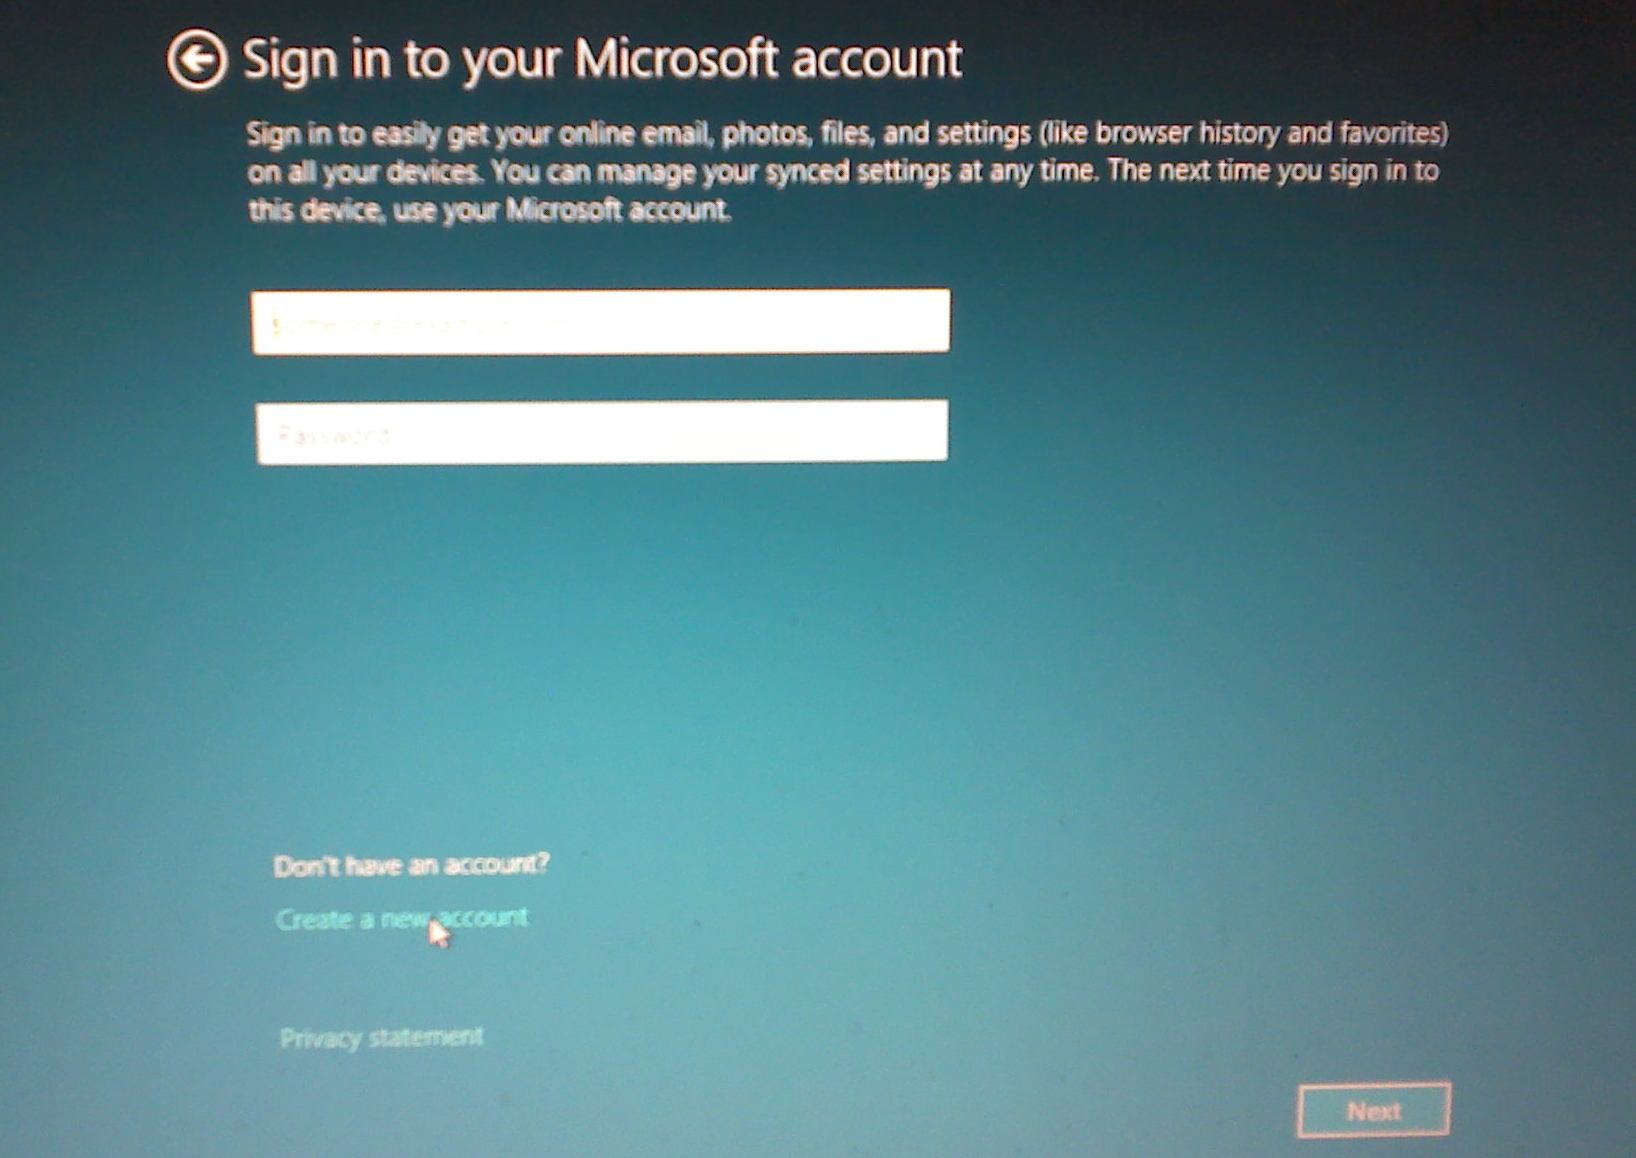
Go to the bottom of the window click on the option to Create a new account. Do not put your current acct info in this window! If you do you will convert your Local account to a Cloud account.
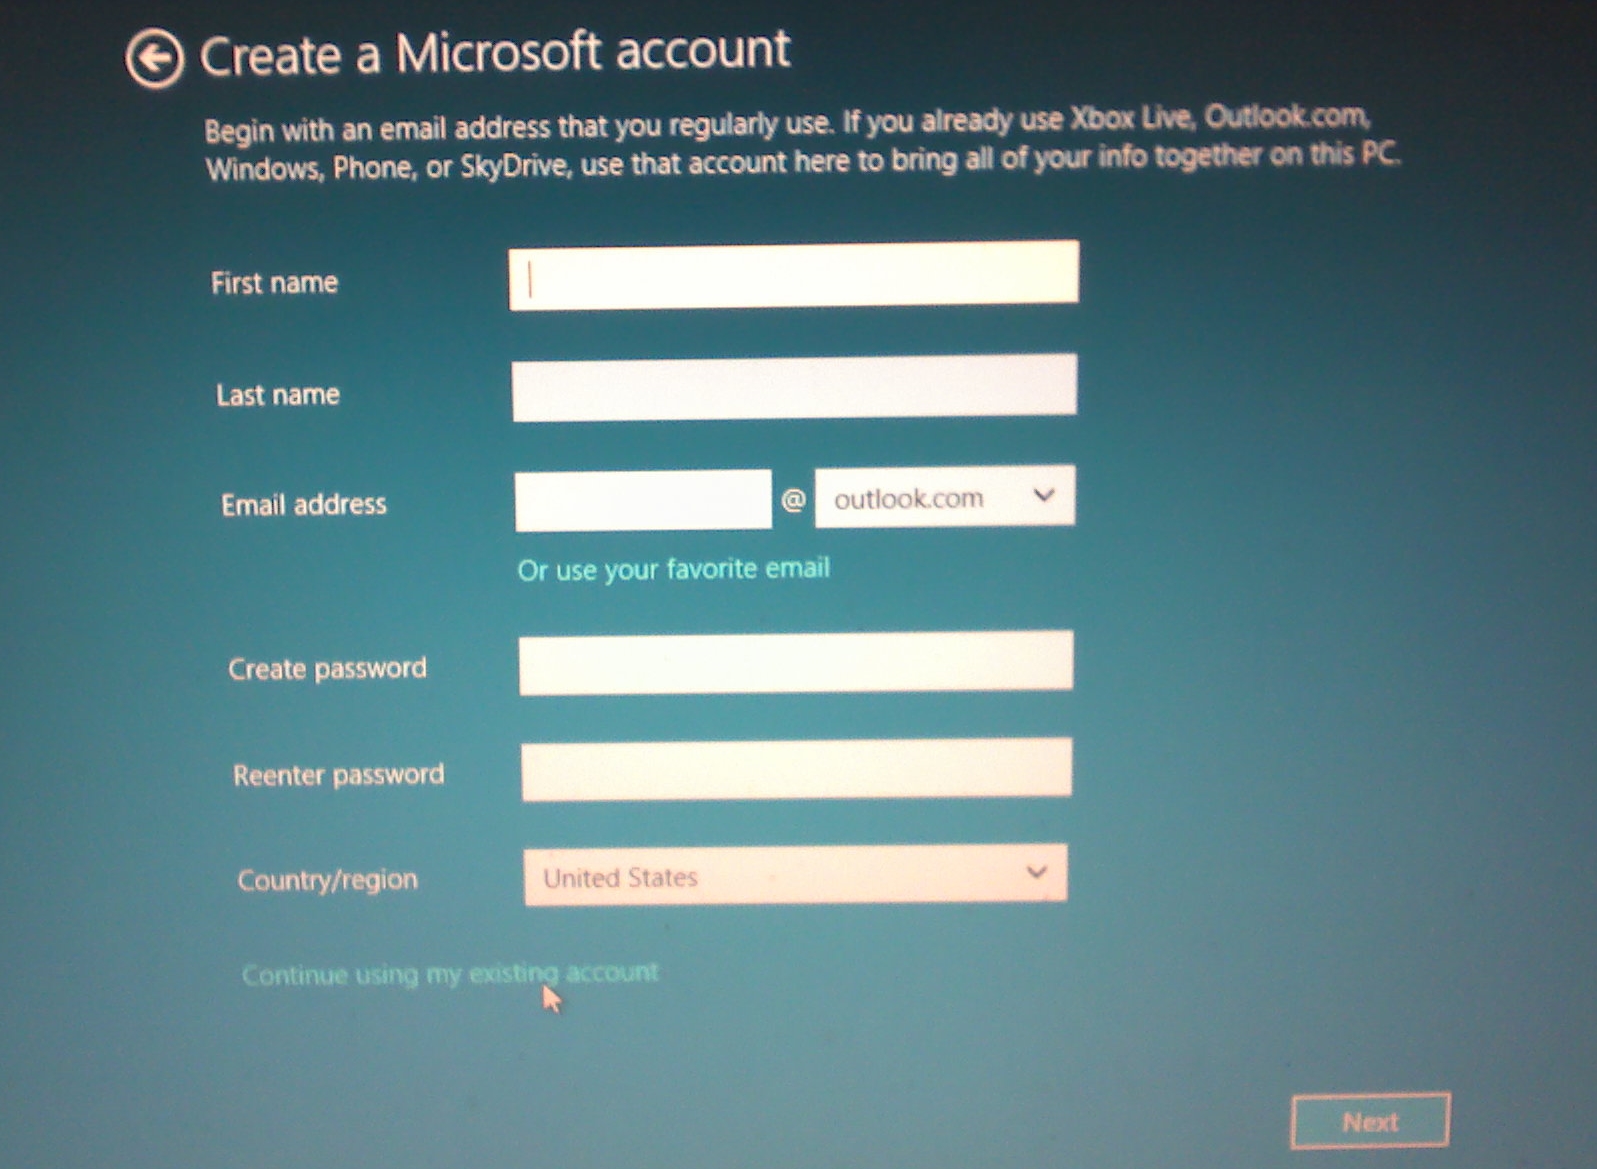
Then go to the bottom of this window & click on the link to Continue using my existing account.
Then you get the screen below - We're setting things up for you

Next the screen starts changing colors as they transfer your apps to your new Windows 8.1 environment.
More screens with text taking about what the computer is doing behind the screens.
More color screens.
And more color screens...

Just when you are tired of seeing color screens they give you another one. By now you will be missing the old fashion run bars that gave you an idea when the end is near.
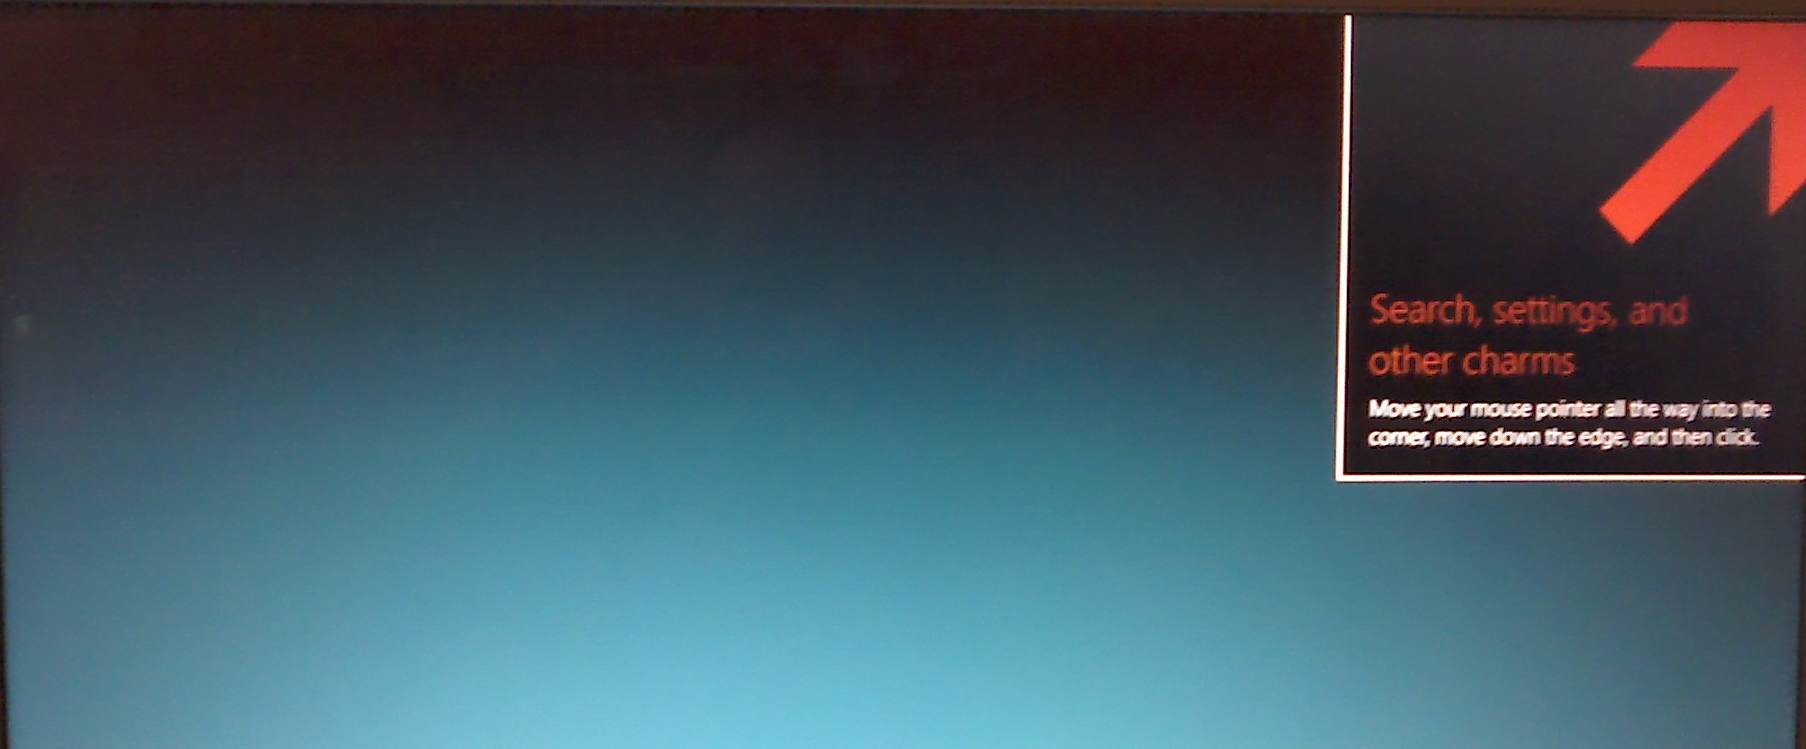
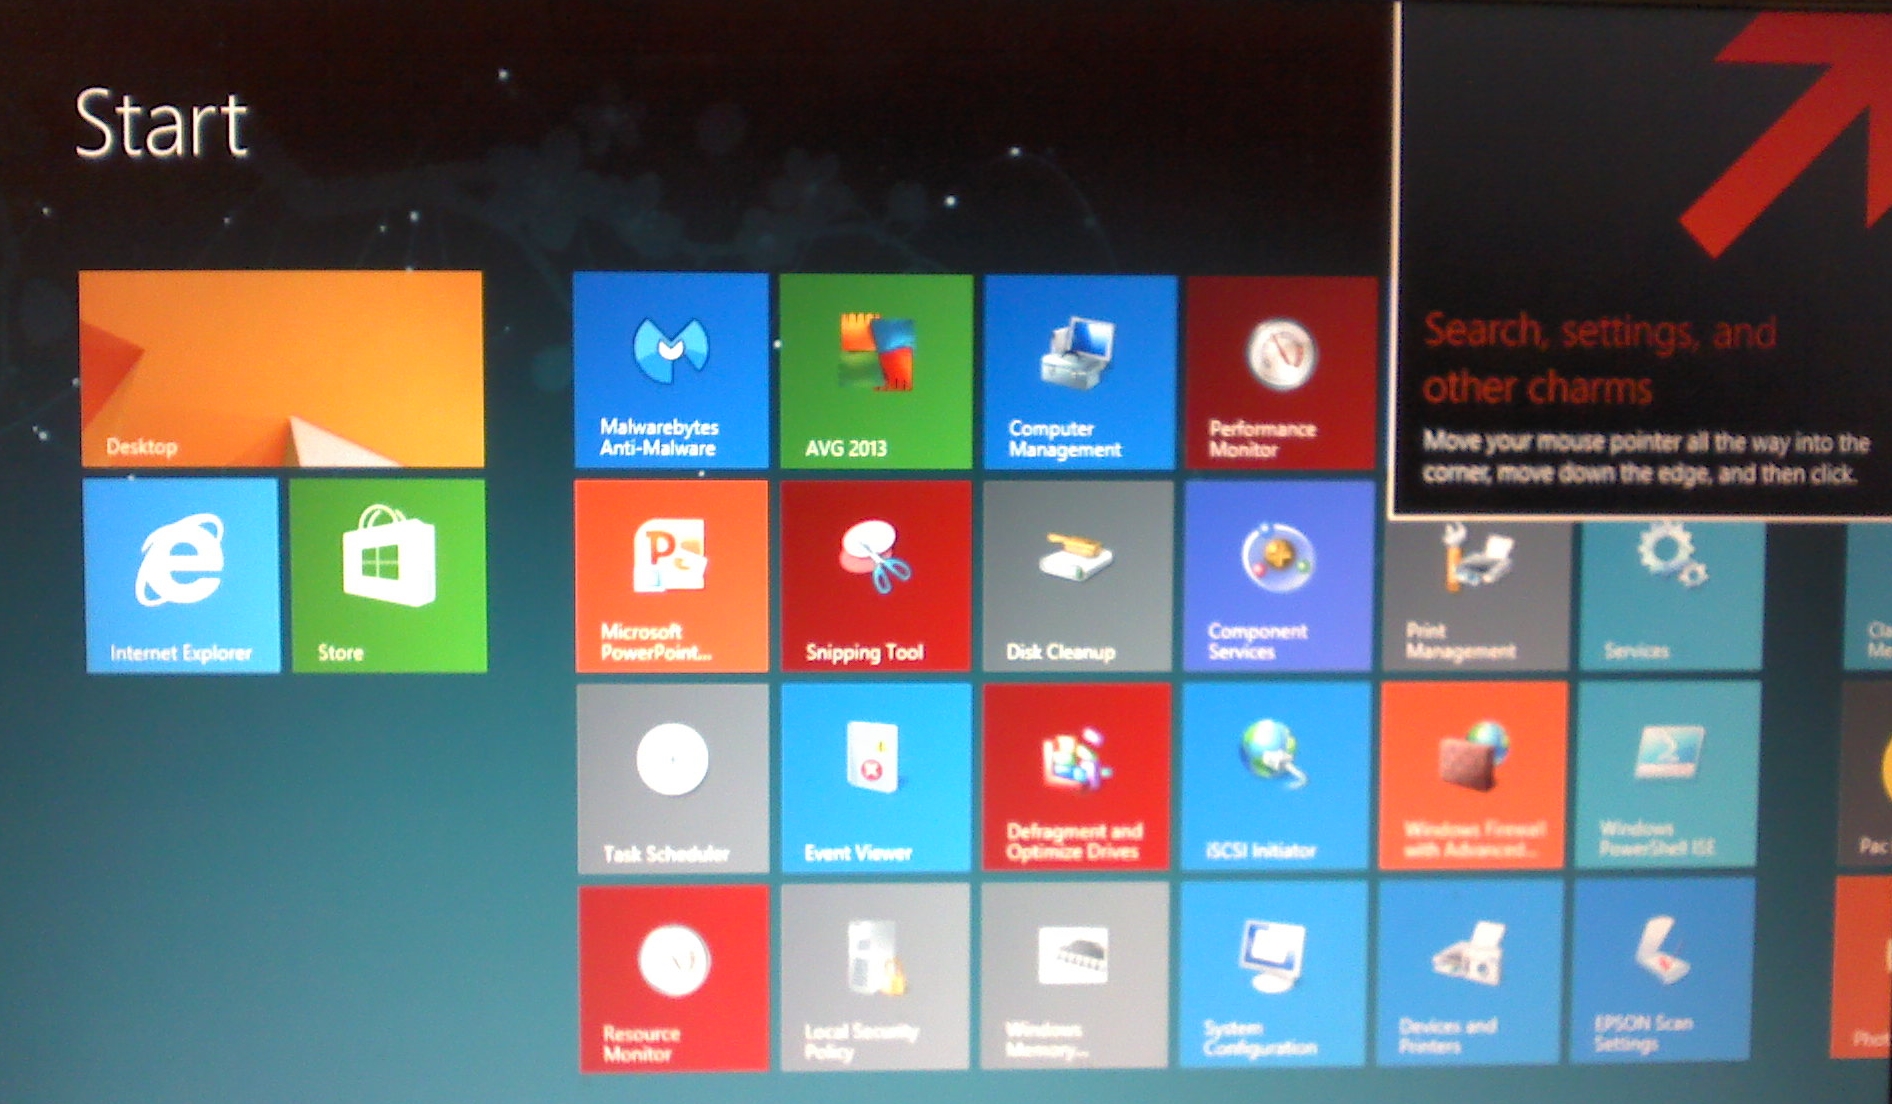
Almost there. This screen appears with instructions on how to find the Charm Bar. This screen will stay until you move your mouse to this corner & then down. Then the demo goes away.
You did it. Welcome to the new Windows 8.1. Click on the orange picture - Desktop. Note, you will need to reinstall the Classic Shell start menu. All other software programs will carry over.
Click here to return to the top.